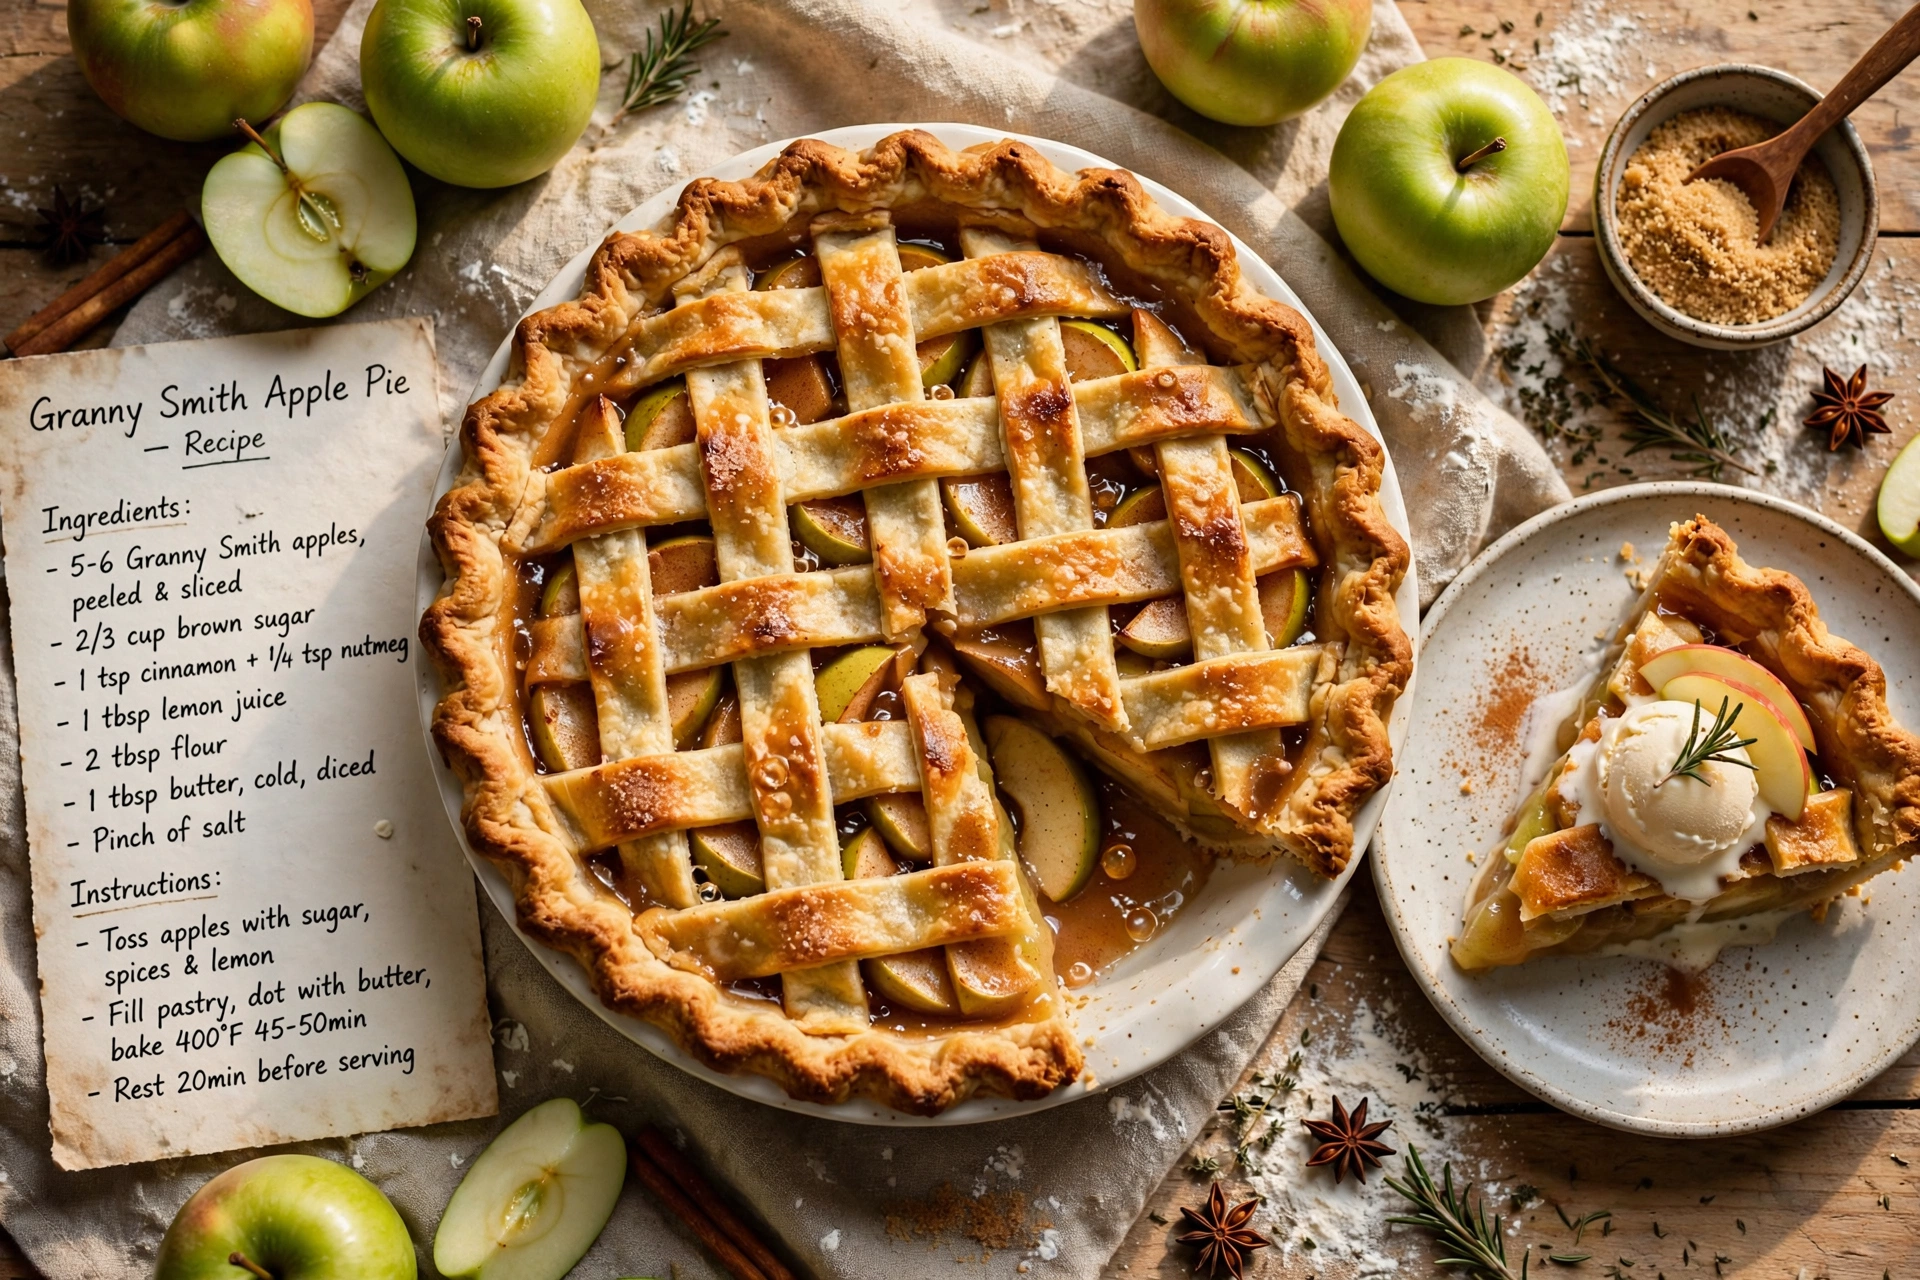
Granny Smith Apple Pie
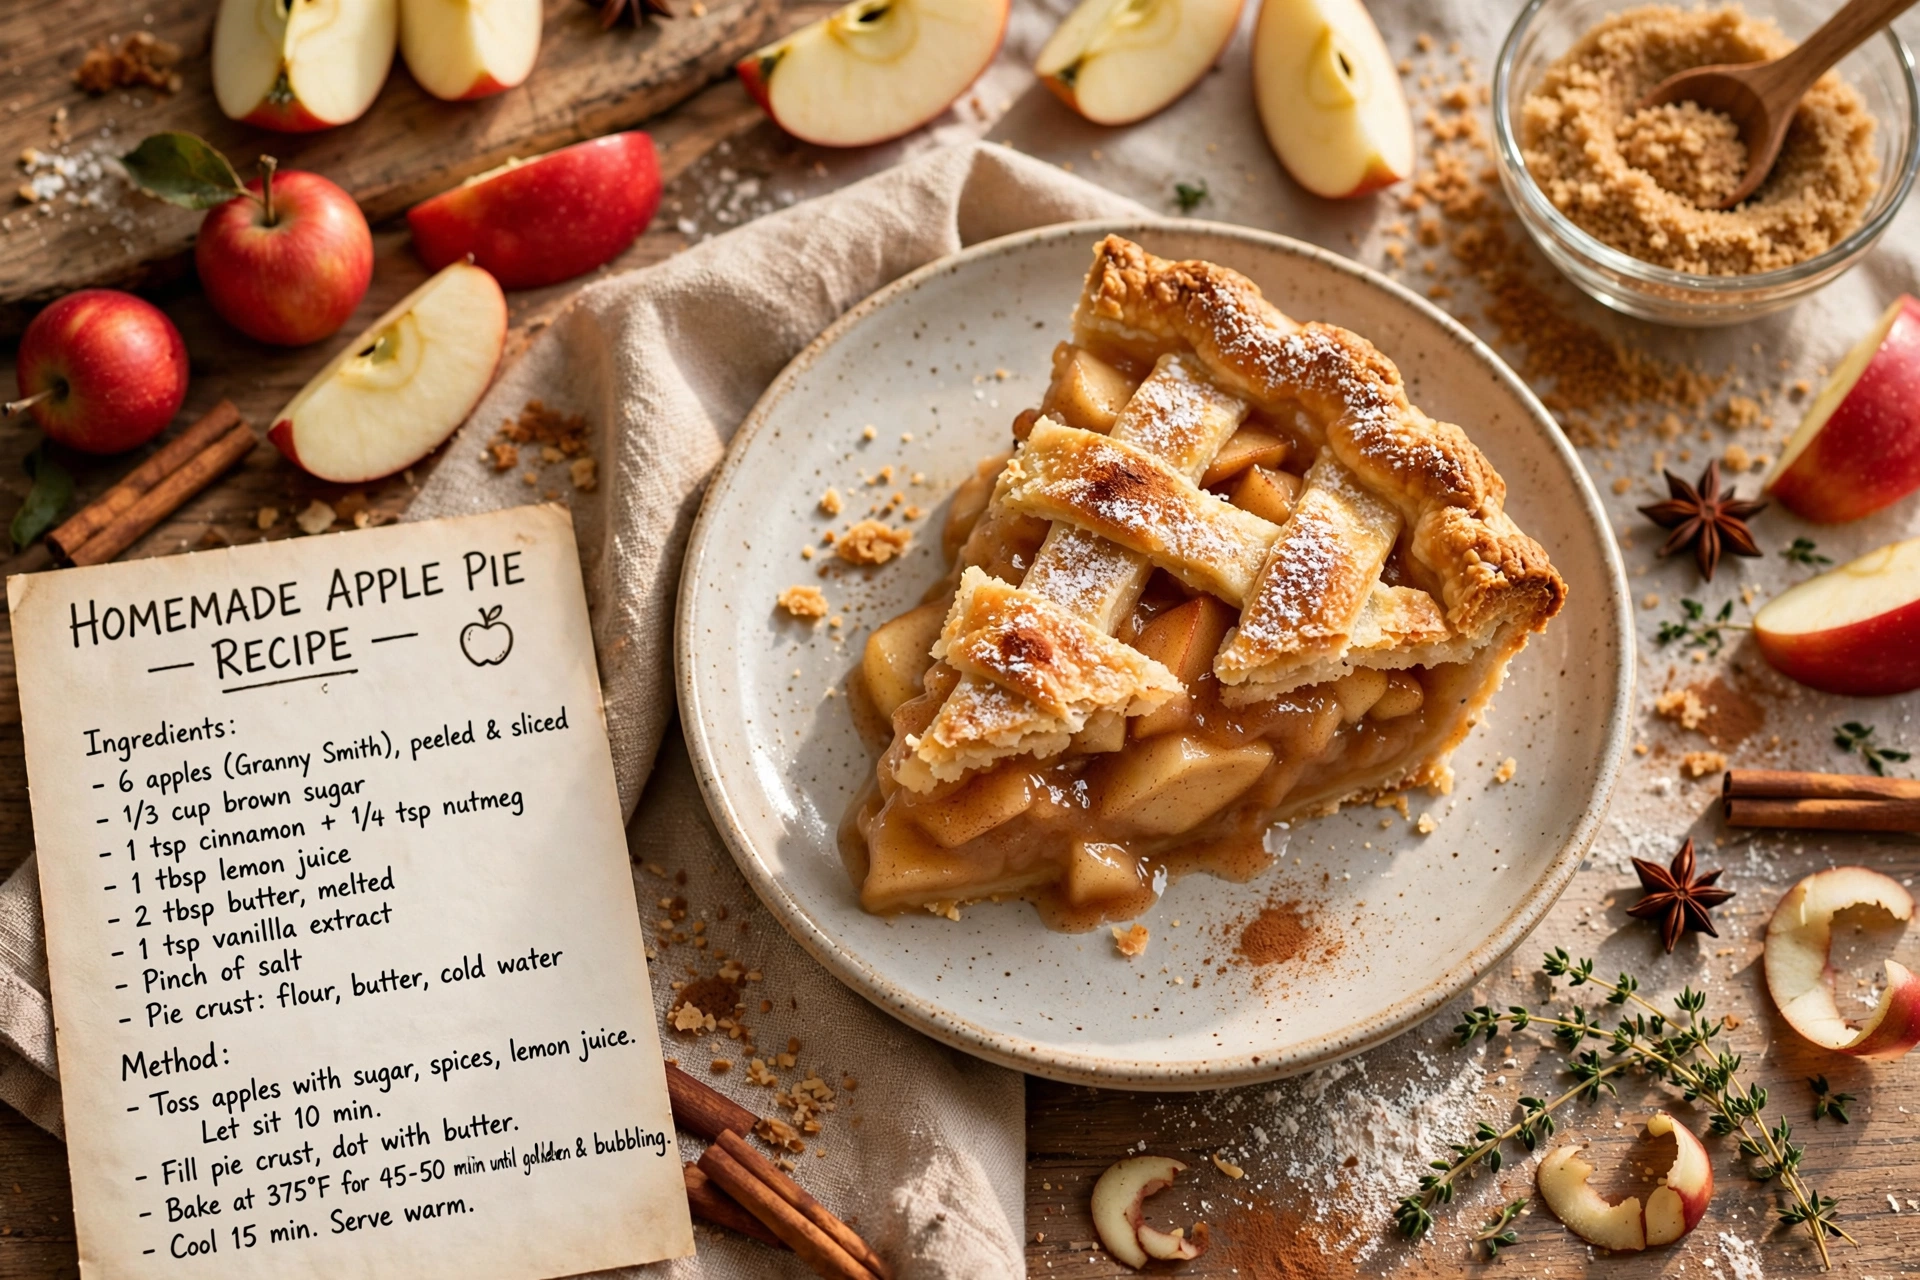
This classic Granny Smith apple pie recipe is packed with tart, juicy green apples, warm cinnamon spice, and a flaky homemade crust for the ultimate old fashioned apple pie.

The Ultimate Granny Smith Apple Pie Recipe
There is something magical about a homemade apple pie recipe pulled straight from the oven, its edges golden and its filling bubbling through the vents. This Granny Smith apple pie leans into everything a truly great green apple pie should be: tart, juicy apples wrapped in warm cinnamon spice, tucked into a buttery, flaky crust. If you have been searching for an old fashioned apple pie that tastes like it came from your grandmother's kitchen, this is the one.
Granny Smith apples are the secret weapon here. Their bright tartness balances the sweetness of the sugar and keeps the filling from turning mushy, giving you that satisfying bite in every slice. This is the kind of classic apple pie recipe you will want to make again and again, whether it is for a holiday table or a random Tuesday when you just need something comforting baking in the oven.
Before we get cooking, the right tools and ingredients make a real difference here. A sturdy ceramic pie dish helps the crust bake evenly, and a good rolling pin makes shaping the dough far less stressful. These are the products that genuinely help this recipe shine:
Why Granny Smith Apples Are the Best Choice
When it comes to apples recipes, not all apples behave the same way in the oven. Granny Smith apples hold their shape beautifully while baking, which means you avoid that dreaded soupy or collapsed filling. Their natural tartness also means you can control the sweetness of the pie precisely, rather than relying on an apple that is already sugary on its own.
Some bakers like to blend in a sweeter apple, such as Honeycrisp, for extra depth, but a pie made entirely of Granny Smith apples is a beautifully balanced classic on its own.
Chef's Tip: Slice your apples to a consistent thickness, about a quarter inch, so they cook evenly and you avoid any raw, crunchy bites hiding in the center of the pie.
Building the Perfect Filling
The filling is really where this green apple pie recipe comes together. Tossing the apples with lemon juice first does double duty: it keeps them from browning and adds a subtle brightness that plays beautifully against the cinnamon and nutmeg. Letting the sugared apples rest for a few minutes allows their natural juices to release, which you will then thicken slightly with flour so the filling sets into neat, sliceable wedges instead of a puddle.
A small pat of butter dotted over the filling before sealing the crust adds richness and helps bind everything together as it bakes.
Getting That Flaky, Golden Crust
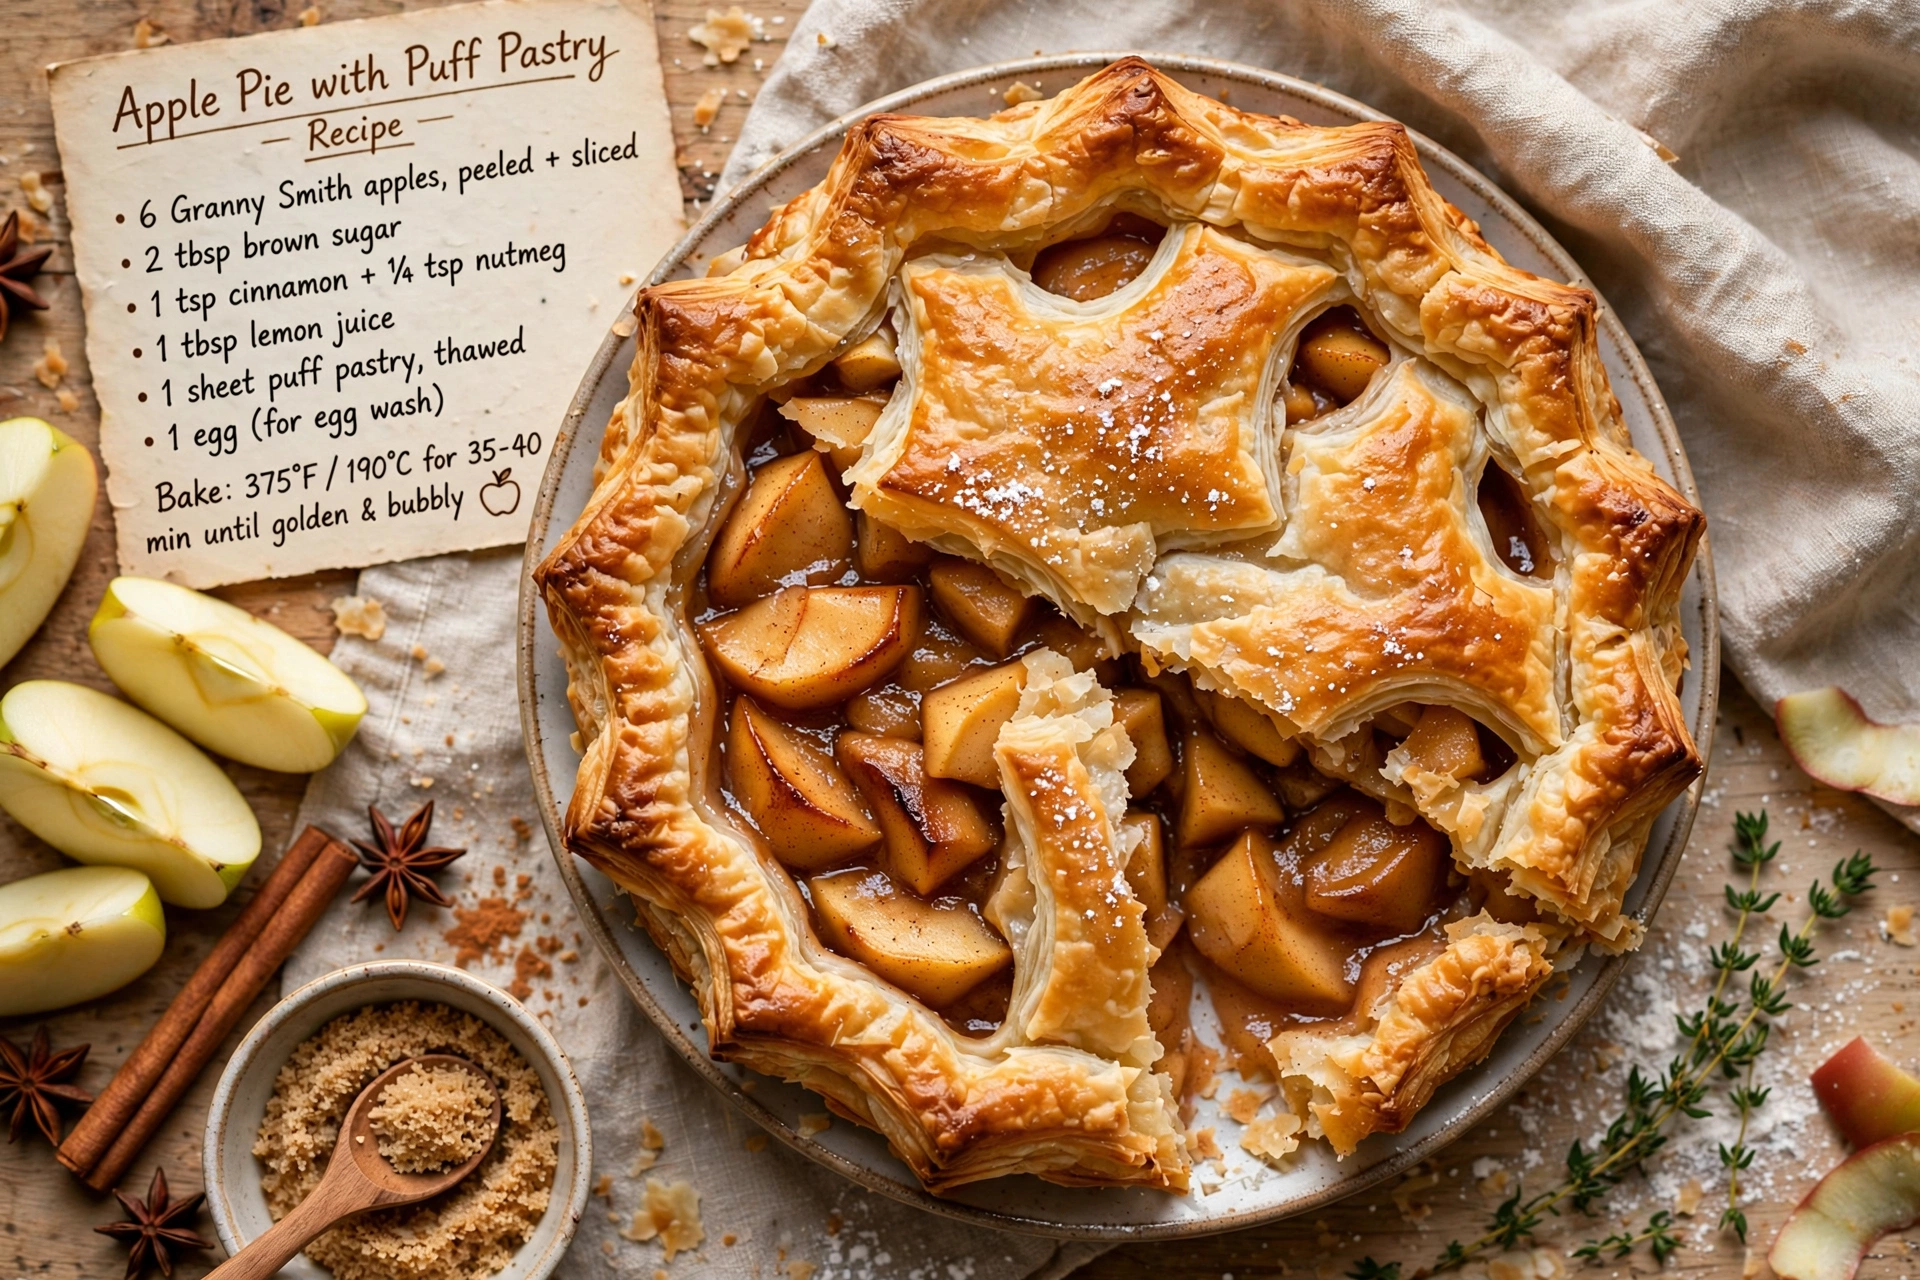
A great crust is non-negotiable for any Granny Smith apple pie recipe worth making twice. Keep your butter and dough cold throughout the process, this is the single biggest factor in achieving flaky, tender layers instead of a tough, dense crust. Whether you go with a simple top crust with vent slits or a decorative lattice, brushing it with egg wash and a sprinkle of coarse sugar gives you that irresistible golden, glistening finish bakeries are known for.
Chef's Tip: If your dough feels too soft to work with, pop it in the freezer for 5 to 10 minutes before rolling. Cold dough is much easier to shape and holds its edges better in the oven.
Baking Tips for Success
Baking at a higher temperature first helps set the crust, then lowering it allows the filling to cook through gently without burning the top. Placing a baking sheet on the rack below catches any bubbling juices, saving you an oven cleanup later. If you notice the edges of your crust darkening too fast, a loose foil covering or a pie shield will protect them while the center continues to bake.
Ready to make it? Here is the full step-by-step recipe:
Granny Smith Apple Pie
This classic Granny Smith apple pie recipe is packed with tart, juicy green apples, warm cinnamon spice, and a flaky homemade crust for the ultimate old fashioned apple pie.
Ingredients
- 7 Granny Smith apples, peeled, cored, and thinly sliced
- 3/4 cup granulated sugar, divided
- 1/4 cup light brown sugar, packed
- 3 tbsp all-purpose flour, for thickening the filling
- 1 tsp ground cinnamon
- 1/4 tsp ground nutmeg, freshly grated if possible
- 1 tbsp lemon juice, freshly squeezed
- 1/4 tsp salt
- 2 tbsp unsalted butter, cut into small cubes
- 2 double pie crust, homemade or store bought, one for the base and one for the top
- 1 large egg, beaten, for egg wash
- 1 tbsp coarse sugar, for sprinkling on top, optional
Instruction
Preheat the oven to 400 degrees F (200 degrees C) and place a rimmed baking sheet on the lower rack to catch any drips.
In a large bowl, toss the sliced Granny Smith apples with lemon juice to prevent browning.
Add the granulated sugar, brown sugar, flour, cinnamon, nutmeg, and salt to the apples and toss until evenly coated. Let the mixture sit for 10 minutes so the juices release.
Roll out one pie crust and fit it into a 9-inch pie dish, letting the excess hang over the edges.
Pour the apple filling into the crust, mounding it slightly in the center, and dot the top with the cubed butter.
Roll out the second crust and place it over the filling, either as a full top crust with vent slits or woven into a lattice pattern.
Trim the excess dough, fold the edges under, and crimp decoratively with your fingers or a fork.
Brush the top crust with the beaten egg and sprinkle with coarse sugar for a golden, glistening finish.
Bake for 20 minutes at 400 degrees F, then reduce the oven temperature to 375 degrees F (190 degrees C) and bake for another 30 to 35 minutes, until the crust is deep golden brown and the filling bubbles through the vents.
If the edges brown too quickly, cover them loosely with foil or a pie shield partway through baking.
Cool the pie on a wire rack for at least 3 hours before slicing to let the filling set properly.
Equipment
- 9-inch pie dish
- Rolling pin
- Large mixing bowl
- Pastry brush
- Wire cooling rack
- Rimmed baking sheet
Notes
Serving and Storing Your Apple Pie
As tempting as it is to slice into this pie the moment it leaves the oven, patience truly pays off. Letting it cool for at least 3 hours allows the filling to set properly, so your slices hold together instead of spilling apart. Serve it slightly warm with a scoop of vanilla ice cream, or enjoy it at room temperature with a dusting of cinnamon on top.
Leftovers keep well covered at room temperature for a couple of days, or in the refrigerator for up to 5 days if you want it to last longer. A quick reheat in the oven revives that crisp, flaky crust far better than a microwave ever could.
However you serve it, this homemade apple pie recipe is proof that a few humble ingredients, treated with care, can turn into something truly unforgettable.