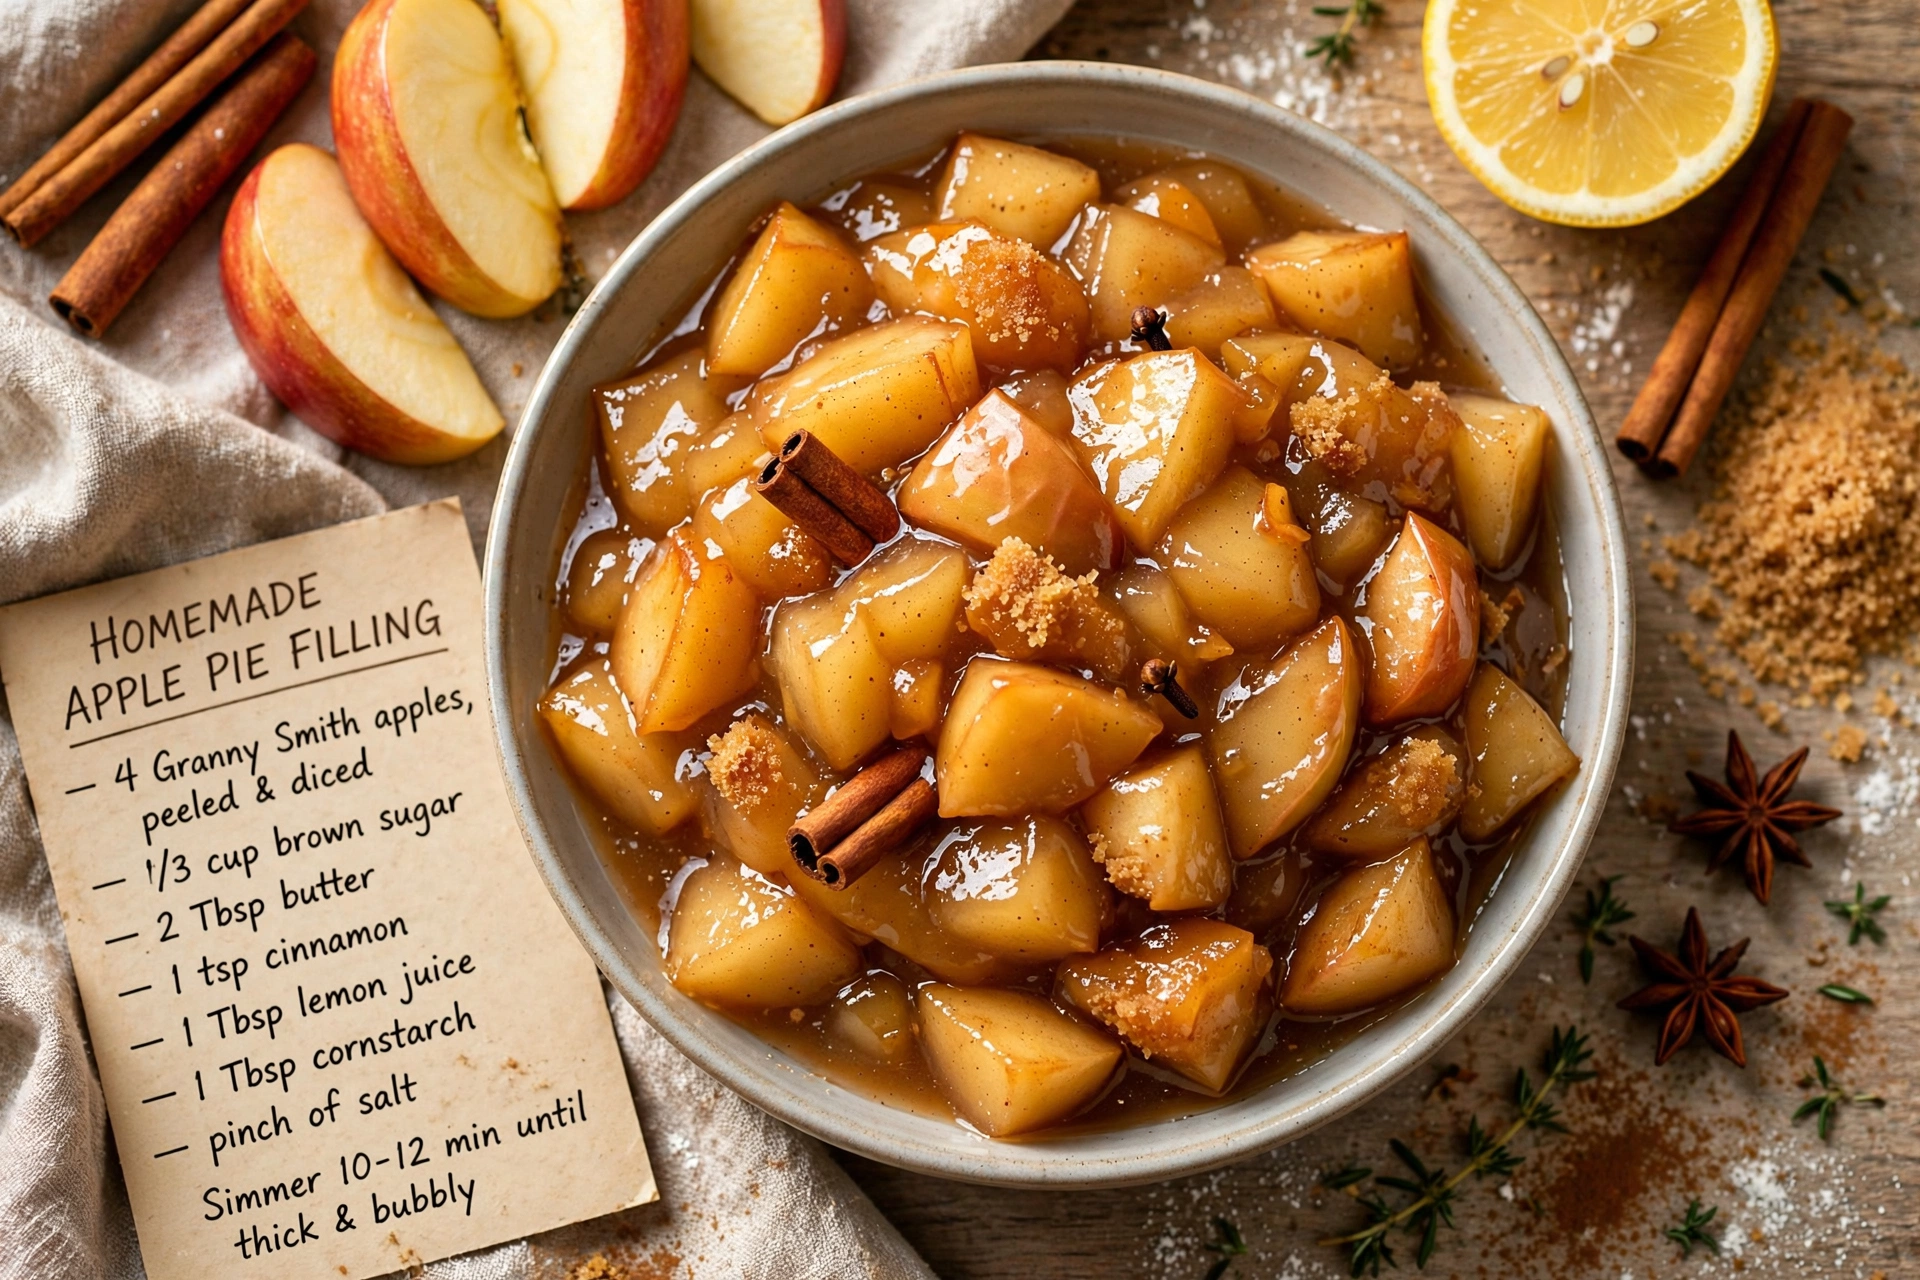
Homemade Apple Pie Filling
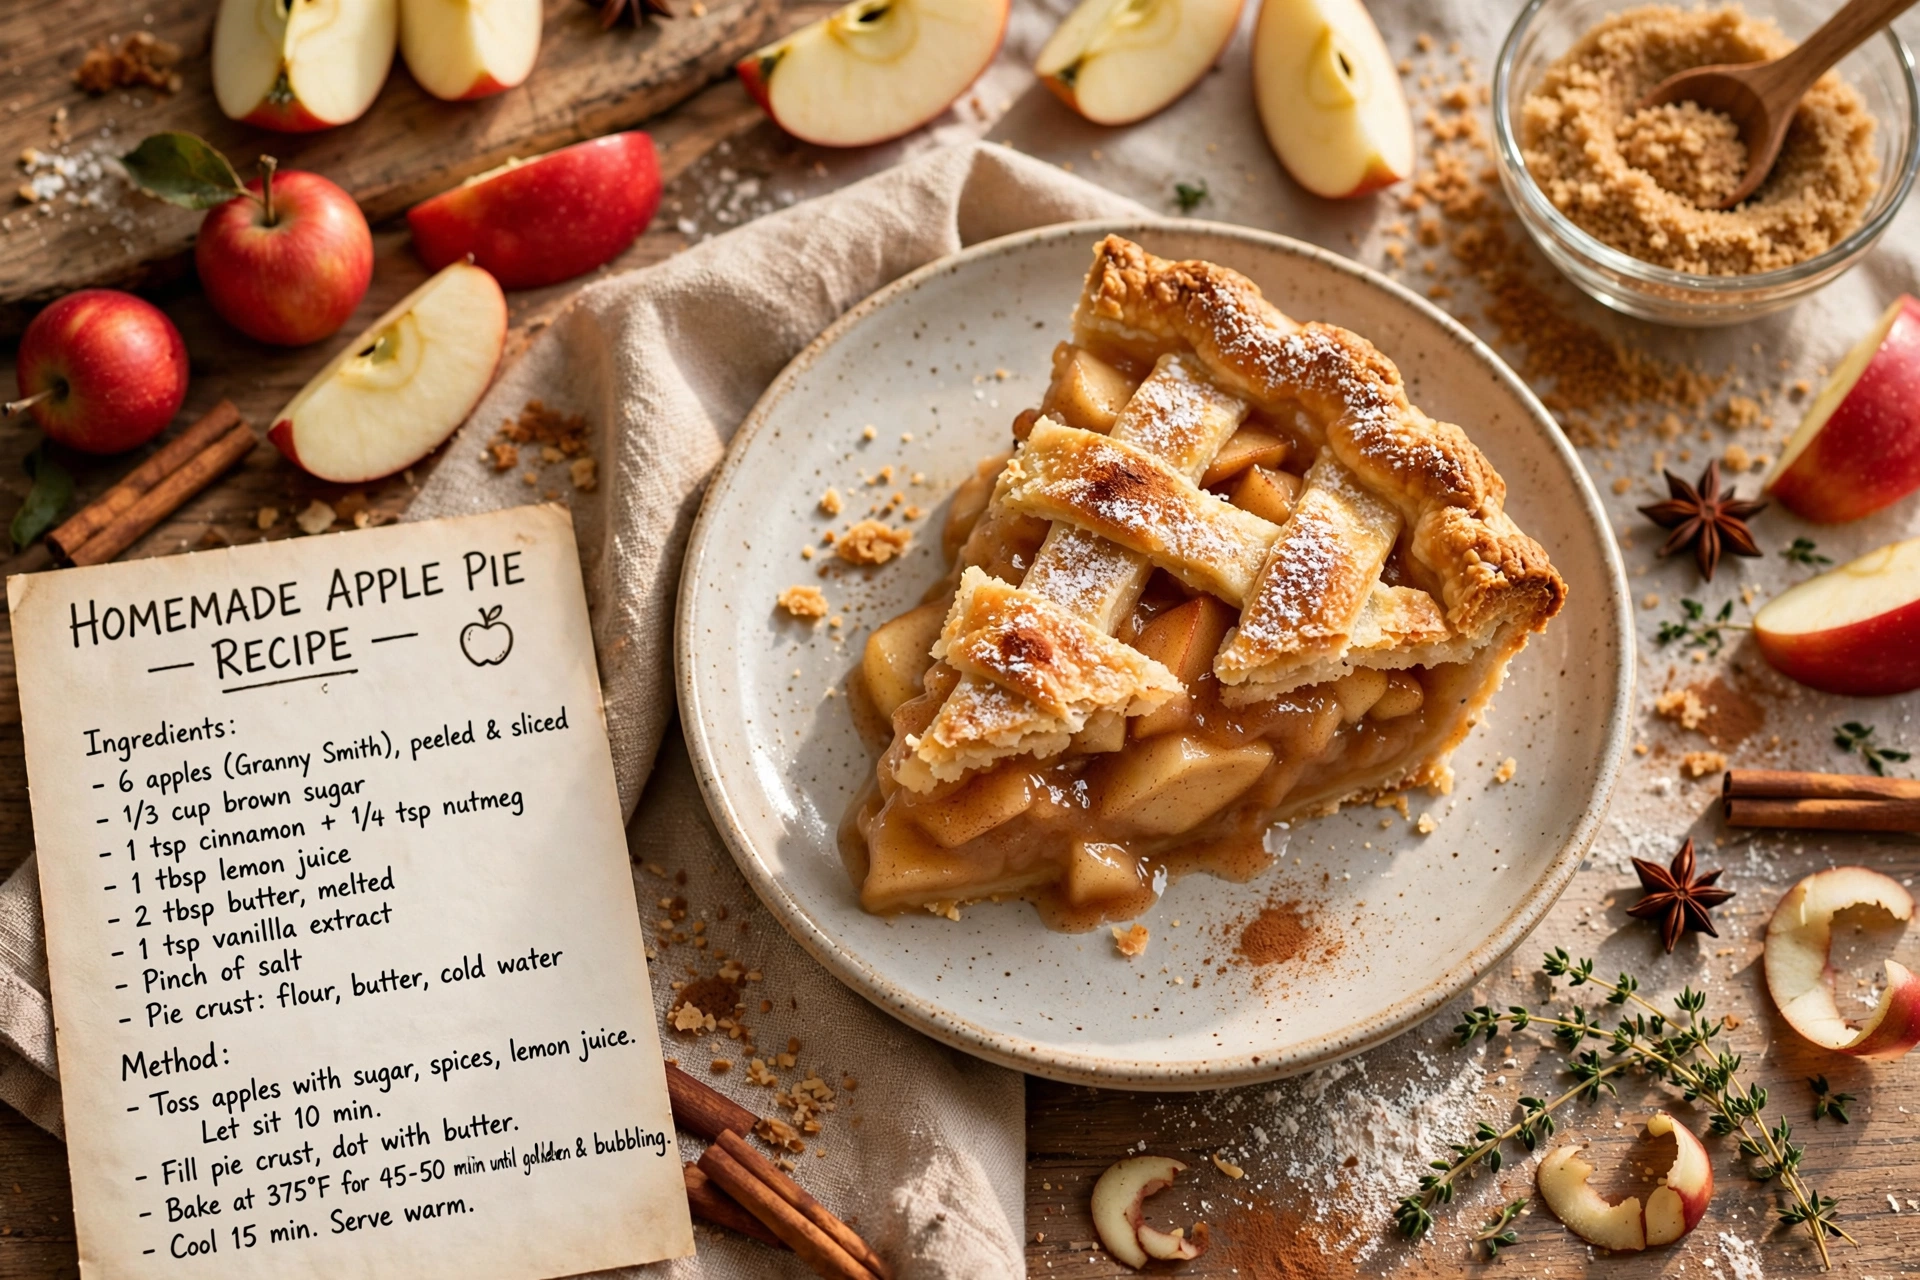
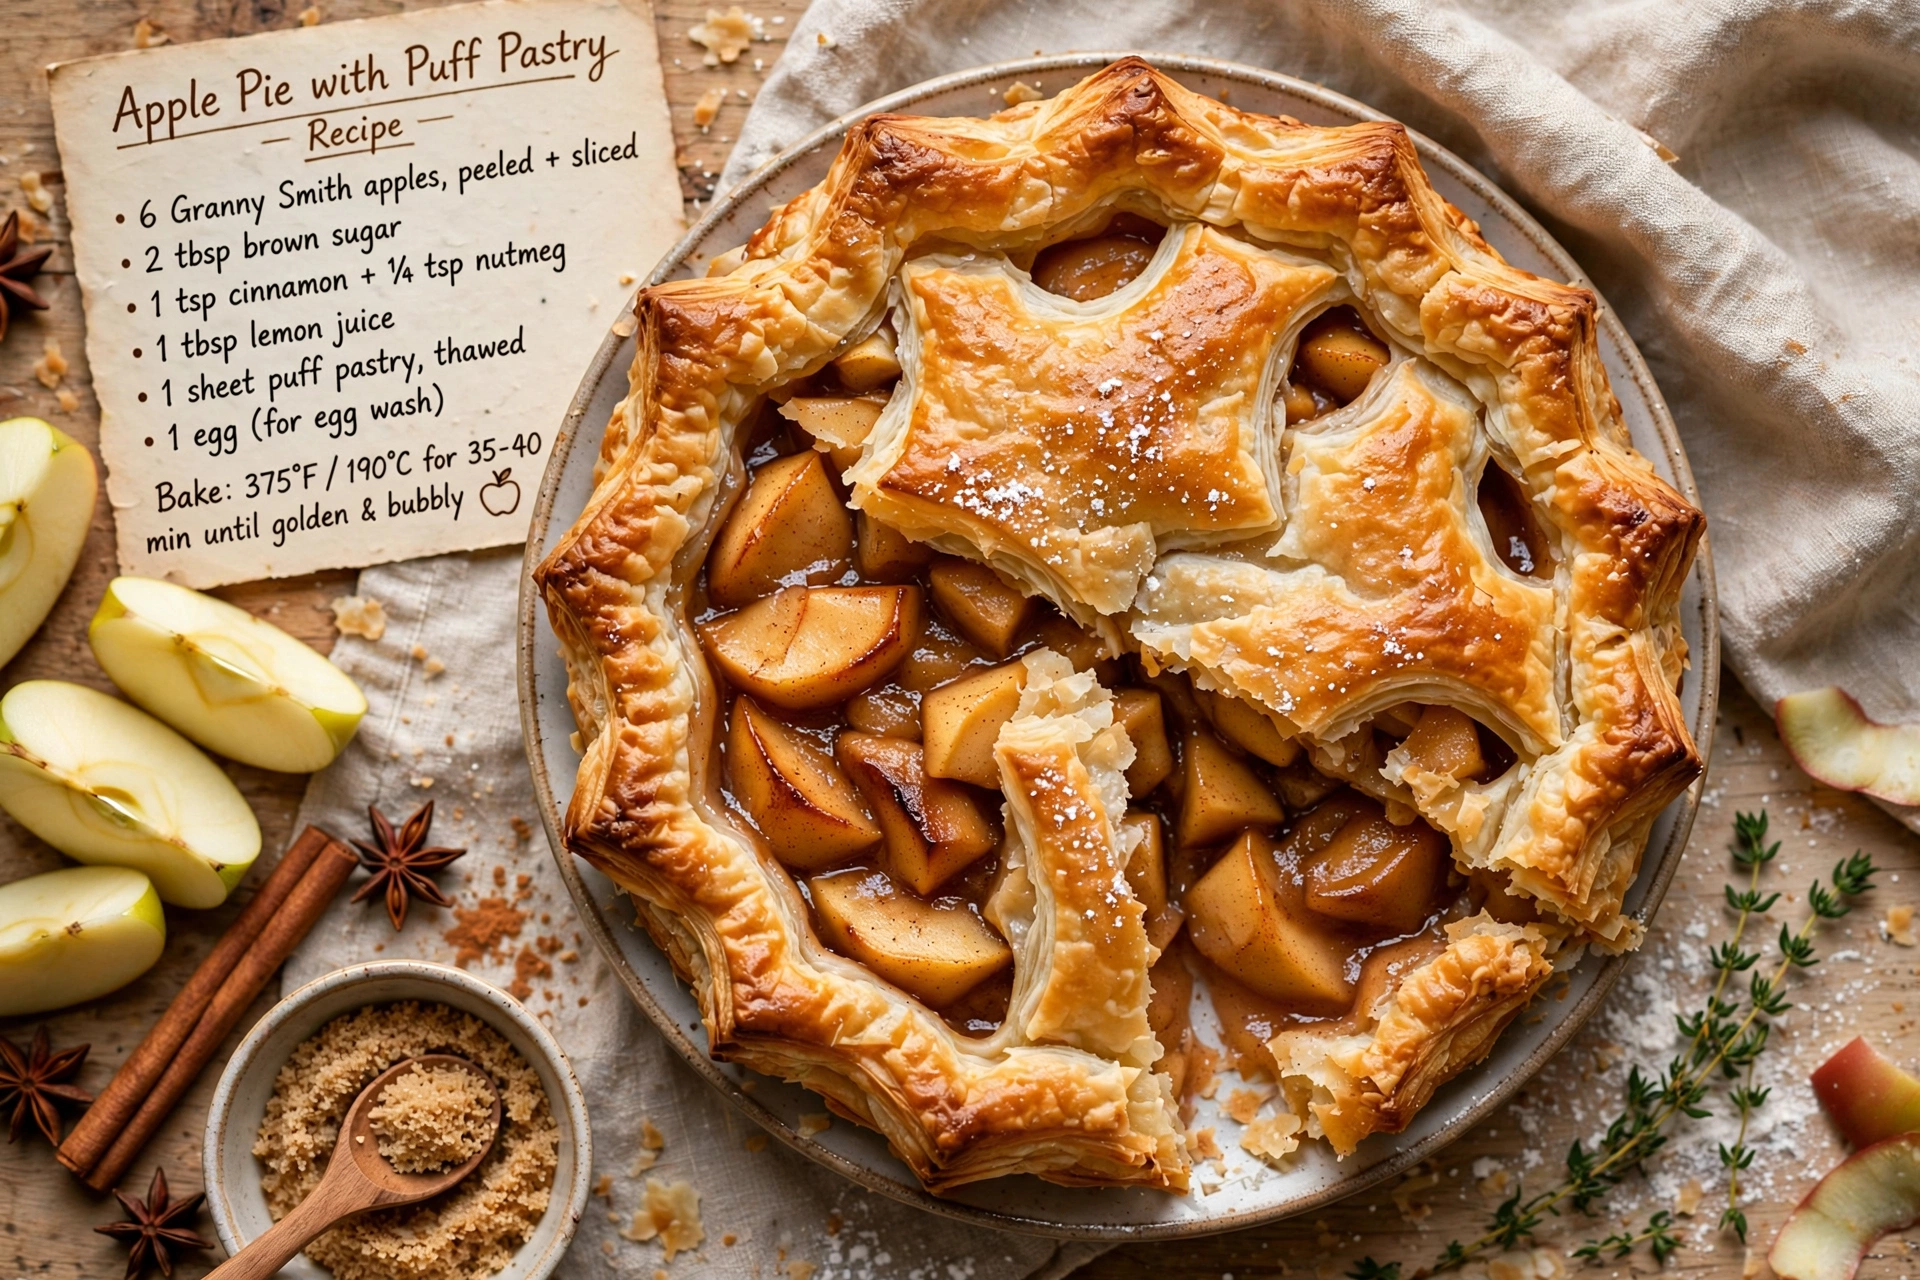
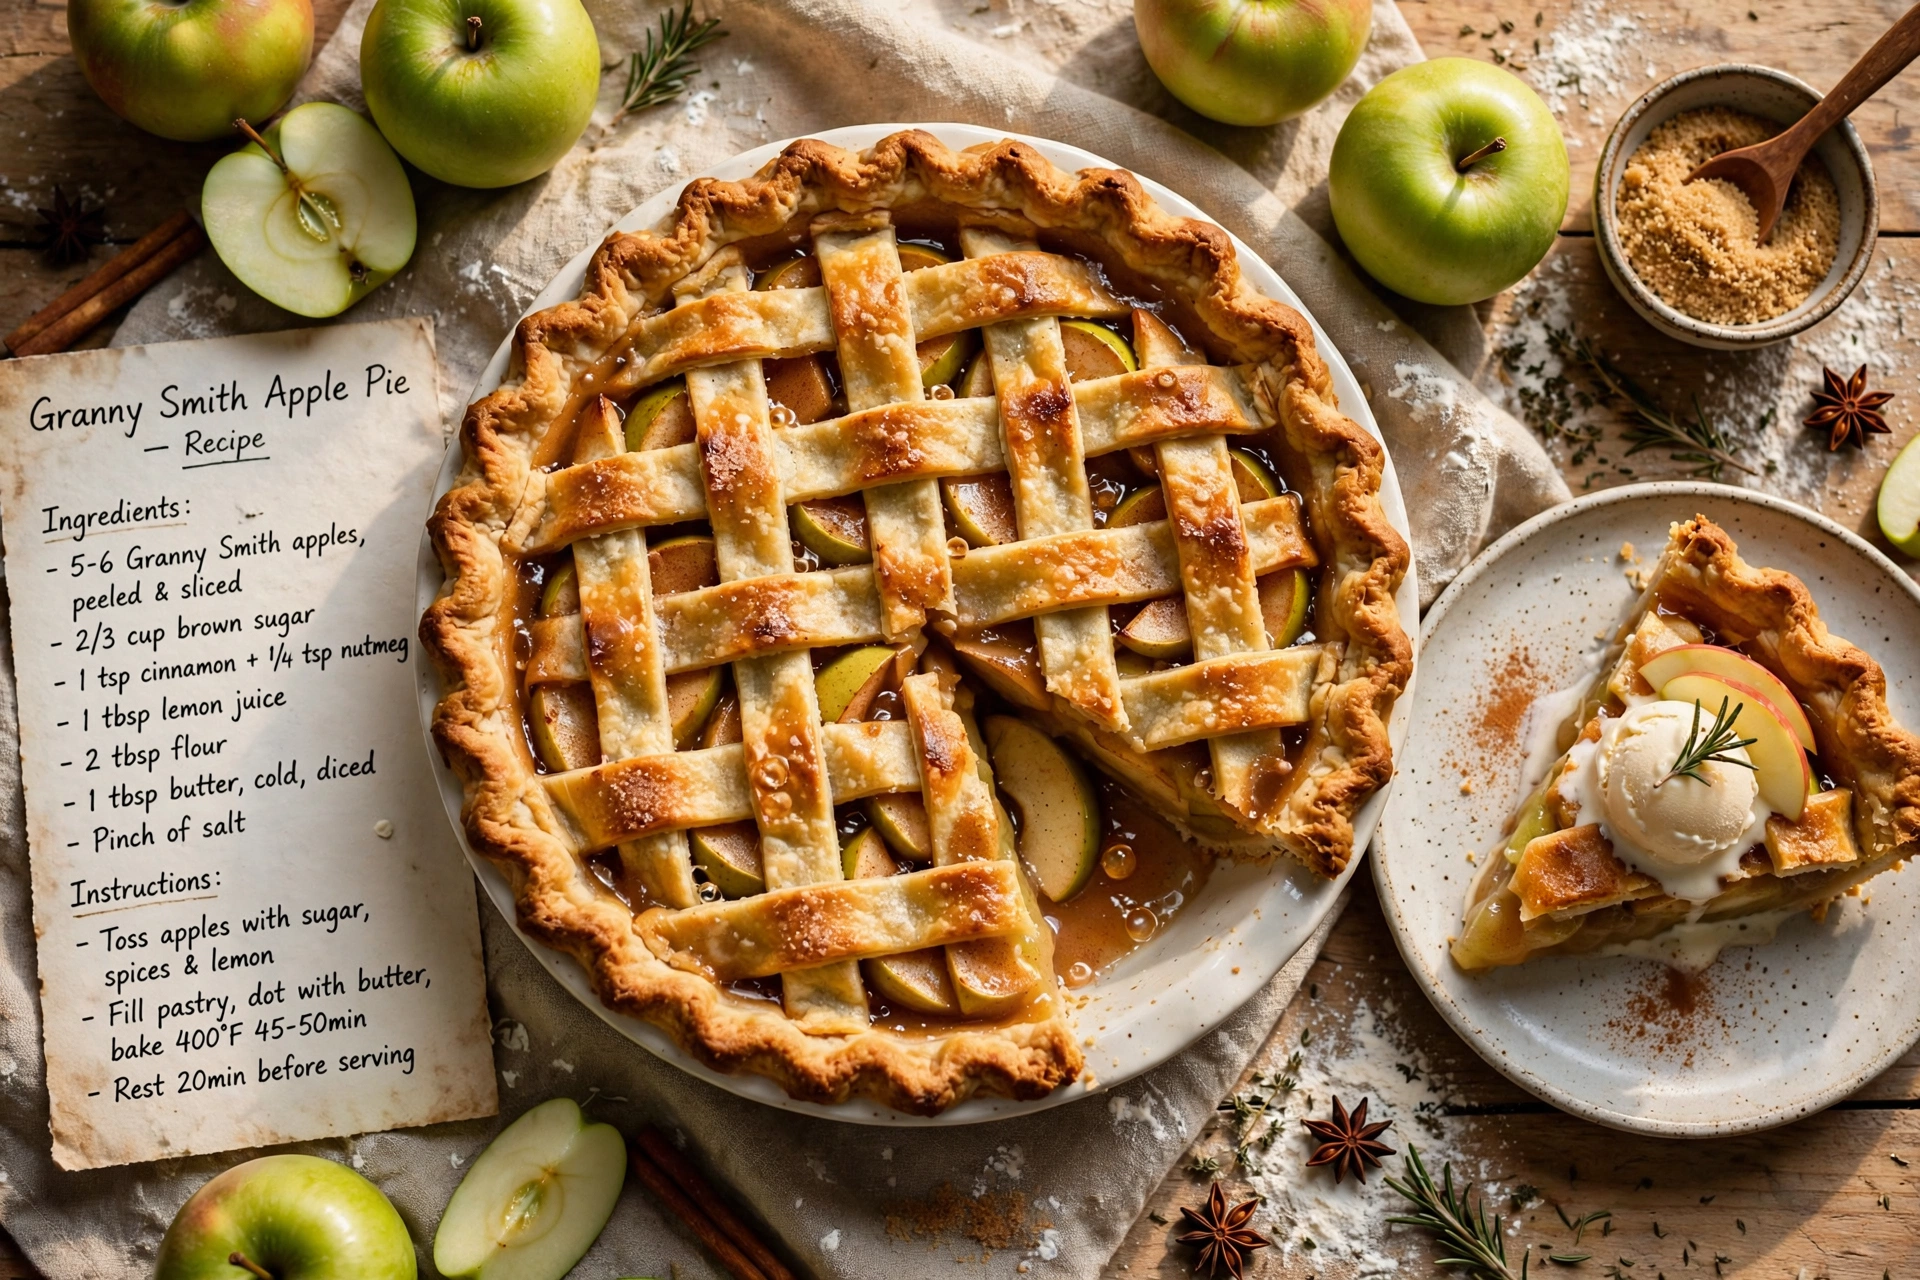
This homemade apple pie filling is thick, cinnamon spiced, and made from fresh apples in under an hour, perfect for pies, pastries, and topping pancakes.

Amazing Homemade Apple Pie Filling From Scratch
There is something magical about the smell of cinnamon and apples bubbling away on the stove. This homemade apple pie filling recipe turns fresh apples into a thick, glossy, perfectly spiced filling that beats anything from a can. Whether you are prepping for a holiday pie or just want a jar of cozy fall flavor in your fridge, this easy apple filling comes together in under 30 minutes of active cooking.
Unlike a lot of fresh apple pie filling recipes that turn out watery or bland, this version leans on a simple cornstarch slurry to build a thick apple pie filling that clings to every slice. No mushy apples, no runny pie, just rich, spiced perfection.
Before we get cooking, the right tools and ingredients make a real difference here. A sharp paring knife or a good apple peeler will save you a ton of time slicing eight apples, and a heavy bottomed saucepan helps the syrup thicken evenly without scorching. These are the products that genuinely help this recipe shine:
Why This Is The Best Homemade Apple Pie Filling Easy Method
Most store bought fillings taste like straight sugar with a hint of apple. This recipe flips that. You get real fruit texture in every bite, balanced spice, and a filling that is genuinely versatile.
- Thickens perfectly thanks to a simple cornstarch and sugar syrup
- Holds its shape so your pie slices cleanly instead of oozing everywhere
- Freezer friendly, so you can make a big batch during apple season
- Naturally spiced with cinnamon and just a touch of nutmeg
Chef's Tip: Slice your apples as evenly as possible. Uneven pieces mean some slices turn mushy while others stay hard, and consistency is the secret to a great cooked apple pie filling.
Choosing The Right Apples
Not all apples behave the same once heat hits them. For the best texture, reach for firm, tart varieties.
- Granny Smith for a tangy, classic pie flavor that holds its shape beautifully
- Honeycrisp for natural sweetness with a satisfying bite
- Braeburn or Jonagold as great middle ground options
Avoid soft varieties like Red Delicious or McIntosh here. They tend to break down into mush rather than staying tender and intact, which matters a lot if you are learning how to make apple filling that actually looks good sliced into a pie.
How To Make Apple Pie Filling From Fresh Apples
The process is simpler than most people expect. You are essentially building a spiced syrup, then folding in your apples to simmer until just tender. The cornstarch does the heavy lifting, thickening the liquid into that classic glossy pie filling texture without any fuss.
This method also means you fully control the sweetness and spice level, something you just cannot do with a can off the shelf. Want it warmer and more autumnal? Add a pinch of ground cloves. Prefer a brighter filling? A touch more lemon juice does the trick.
Ready to make it? Here is the full step-by-step recipe:
Homemade Apple Pie Filling
This homemade apple pie filling is thick, cinnamon spiced, and made from fresh apples in under an hour, perfect for pies, pastries, and topping pancakes.
Ingredients
- 8 apples, peeled, cored, and sliced into 1/4 inch pieces (Granny Smith or Honeycrisp work best)
- 3/4 cup granulated sugar
- 1/4 cup light brown sugar, packed
- 3 tbsp cornstarch
- 1 1/2 tsp ground cinnamon
- 1/4 tsp ground nutmeg
- 1/4 tsp salt
- 1 cup water
- 1 tbsp lemon juice, freshly squeezed
- 1 tbsp unsalted butter, optional, for extra richness
Instruction
Peel, core, and slice the apples into even 1/4 inch pieces so they cook at the same rate.
Toss the sliced apples with lemon juice in a large bowl to keep them from browning while you prep everything else.
In a medium saucepan, whisk together the granulated sugar, brown sugar, cornstarch, cinnamon, nutmeg, and salt.
Whisk in the water until no lumps of cornstarch remain, then place the saucepan over medium heat.
Bring the mixture to a gentle boil, stirring constantly, until it thickens into a glossy syrup, about 3 to 4 minutes.
Add the apples and lemon juice to the saucepan and stir to coat every slice in the syrup.
Reduce the heat to medium low and simmer, stirring occasionally, for 8 to 10 minutes until the apples are tender but still hold their shape.
Stir in the butter, if using, until melted and glossy.
Remove from the heat and let the filling cool to room temperature before using or storing.
Equipment
- Medium saucepan
- Large mixing bowl
- Sharp paring knife or apple peeler
- Wooden spoon or heatproof spatula
- Measuring cups and spoons
Notes
Serving And Storing Your Apple Pie Filling
This filling is endlessly useful beyond just pie. Spoon it warm over vanilla ice cream, layer it into oatmeal, swirl it into pancake batter, or use it as a topping for cheesecake bars.
For storage, let the filling cool completely before transferring it to an airtight container. It keeps in the fridge for about a week, or you can freeze it flat in a freezer bag for up to three months, which makes it incredibly easy to pull out exactly what you need for a last minute pie.
Chef's Tip: If you are freezing filling specifically for a future pie, slightly undercook the apples. They will finish softening during baking, so you avoid a mushy final texture.
Final Thoughts
Once you make this homemade apple pie filling from scratch, it is hard to go back to store bought. It is fresher, thicker, more flavorful, and honestly not much more work. Keep a batch in your freezer through apple season and you will always be one step away from an amazing homemade apple pie.